How to Make Cool Swirly Nail Polish Marbleized Easter Eggs
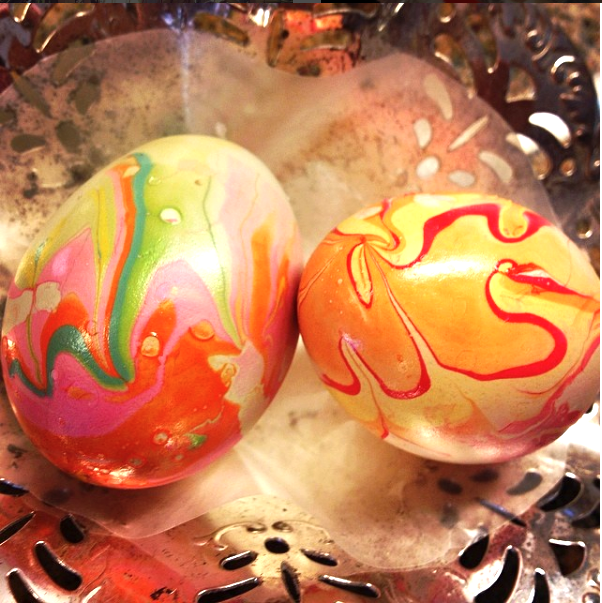
How to Make Cool Swirly Nail Polish Marbleized Easter Eggs

Screen Shot 2017-04-06 at 3.34.08 PM.png

found this pic from 3 years ago in my Instagram feed!

Easter is around the corner.  I was having visions of these fun, swirly painted eggs we used to make.  We made them a few years back.  I scrounged through my Instagram feed from 3 years ago to find a couple of my favorite decorated Easter eggs ever.

My gals were experimenting with water marble techniques for nails.  We tried it with eggs and had amazing, swirly results.  Turned out we were not the first to transfer the water marbleizing technique to eggs.

For example, just watch this DIY video  – I particularly like the gal in the video tutorial’s sweet southern accent:

The great thing about making Cool Swirly Nail Polish Marbleized Easter eggs is that you  have everything you need for this fun craft project in your cupboards and kitchens.

Eggs?  – got ’em

Fun colored left over nail polishes?  – tons

A plastic container?  – sure

Toothpicks? – think so

Gloves? – yep!

Experiment with the number of colors you use and with the shades.  Making the designs in the water is half the fun.

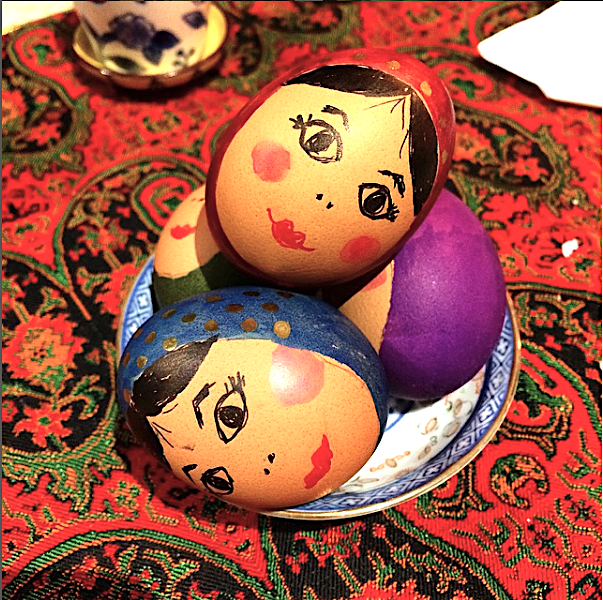
As I was going through my Instagram feed from a few years back I came across this goodie as well:
Screen Shot 2017-04-06 at 3.33.39 PM.png

aunt Cici’s handy work with her cute egg ladies wearing head scarves

Do you prefer to hallow out your eggs for painting or use hard-boiled eggs?  I find hallowing them out to be a bit stressful and tedious so I choose to hard boil.  I follow a blog called Gimme Some Oven.  Ali did a whole series on how to cook eggs this week.  It was awesome.  Here’s her video on how to get perfectly hard-boiled eggs.

Egg-cellent!  Next up, a healthier version of hard-boiled eggs.  Check back to my other site, OvenHug for quick, easy, and healthy recipe inspiration.

Pretty Polymer Clay Swirly Bowls

Pretty Polymer Clay Swirly Bowls

IMG_0001.jpg

The girls and I stayed up last night making these beautiful bowls.  I’m looking at them right now and can hardly believe we made them ourselves!  We wanted to make something for the grandmas, aunts, and cousins we’ll be seeing here on Christmas.  They turned out so pretty I’m sure the girls will want to keep one for themselves as well.

All you need for this project is a few colors of oven bake clay a.k.a. Sculpey, a work area, a sharp knife, some oven safe bowls, and some metallic gold paint or a gold paint pen.

What I love most about this project is the less perfect you are in crafting these bowls, the prettier they come out.  We had a lot of fun coming up with sea shell looking versions and different sizes mainly by trial and error.  We used varying sizes of bowls, probably not all officially oven safe, but were careful handling the hot bowls.

IMG_0002.jpg

Here are the steps to making these beautiful marbled clay bowls.

  • Preheat Oven to 275 degrees Farenhiet
  • Cut small pieces of 2 two 3 colors of clay and roll into a ball about 1/2 big with a sharp knife
  • Roll the ball into logs
  • Do the same with 2 pieces of white clay
  • Add one last piece of either gray or black
  • Lay the rolls next to each other and twist in opposite directions from the ends
  • Bring the ends together and do the twisting again
  • Do this whole process one more time
  • Smoosh into a ball
  • Flatten the ball
  • Roll out with a rolling pin
  • Cut around the edge of a glass or bowl
  • Gently place in an oven safe bowl and press down lightly to form a bowl shape
  • Bake in oven for 15 minutes
  • Let cool 5 minutes
  • Remove from baking bowl
  • Let cool completely
  • Paint rim of bowl with gold

The girls and I like to do a craft every year before Christmas during their time off school.  It’s a great way to bond and making gifts for others helps gets them in a giving spirit.  Last year we made silly, fun emoji ornaments with the same polymer clay and paint pens. If you’re looking for a great gift for someone who loves coffee, you may consider giving them hilarious mugs.

What do you think about these pretty bowls?  They are the perfect size to have at your bedside table to store earrings, and other small treasures.  Would you like to make one?  Would you like to have one?  Do you know someone who would appreciate getting one as a gift?  Let me know in the Comments – I would love to hear from you!  ? – Bita

How to Make Mini Apple Pies Shaped like Roses with Puff Pastry Sheets

How to Make Mini Apple Pies Shaped like Roses with Puff Pastry Sheets

IMG_8311

Last week our next door neighbors gifted us with a big bag of hand picked apples from their tree.  Our neighbors have the most beautiful and plentiful garden I have ever seen.  The beautiful part is that they share the abundance with others and I believe that helps their garden thrive. As we chatted over the fence, they even offered some advice on starting a Japanese Knotweed Management Plan, which they said had been crucial for maintaining their garden’s health and beauty.


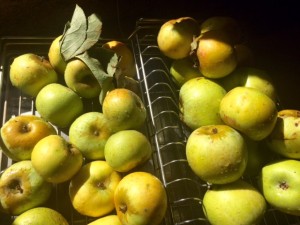
Pippin ApplesI’ve been told that these are Pippin apples which orginate from the east coast outside of New York.  A little tidbit is that they are one of the oldest apple varieties in the United States.  Given these facts, this is a pretty special fruit.  Pippin apples are crisp, sweet and tart at the same time, and good enough to eat plain and fresh.  Not a crab apple at all.  However, I am using them to make a version of apple pie that is simple, cute, and delish.

Let’s get started!

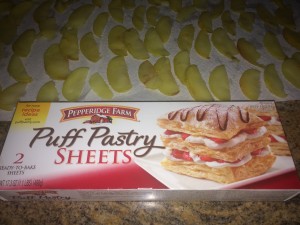
First off you will need to pick up some Puff Pastry Sheets.  Here is what I’m talking about:

IMG_8303

[amd-zlrecipe-recipe:4]

Make mini apple pies shaped like roses with pastry sheets for breakfast or dessert.  They are so pretty and so, so good!  Get creative with add-ons.  Try drizzling caramel sauce on top for dessert or adding raisins for breakfast.  I’m planning to make these as part of my dessert repertoire for our contribution to our extended family Thanksgiving feast this year.

Hope you try making mini apple pies.  Leave a comment and let me know what you think!  I’m sure there are more variations – experiment with different kinds of apples and add nuts if you don’t have allergies.  Most of all have fun rolling these sweet little pies up.

Bon Appetit!

The Best Omelet Popper Recipe (Mini Omelet Muffins)

The Best Omelet Popper Recipe (Mini Omelet Muffins)


I love breakfast! I love eating out and going to other people’s houses for breakfast even more. As a mostly stay at home mom, mornings start with washing, chopping, preparing. I crave for someone to wash, chop, and prepare things for me in the morning!

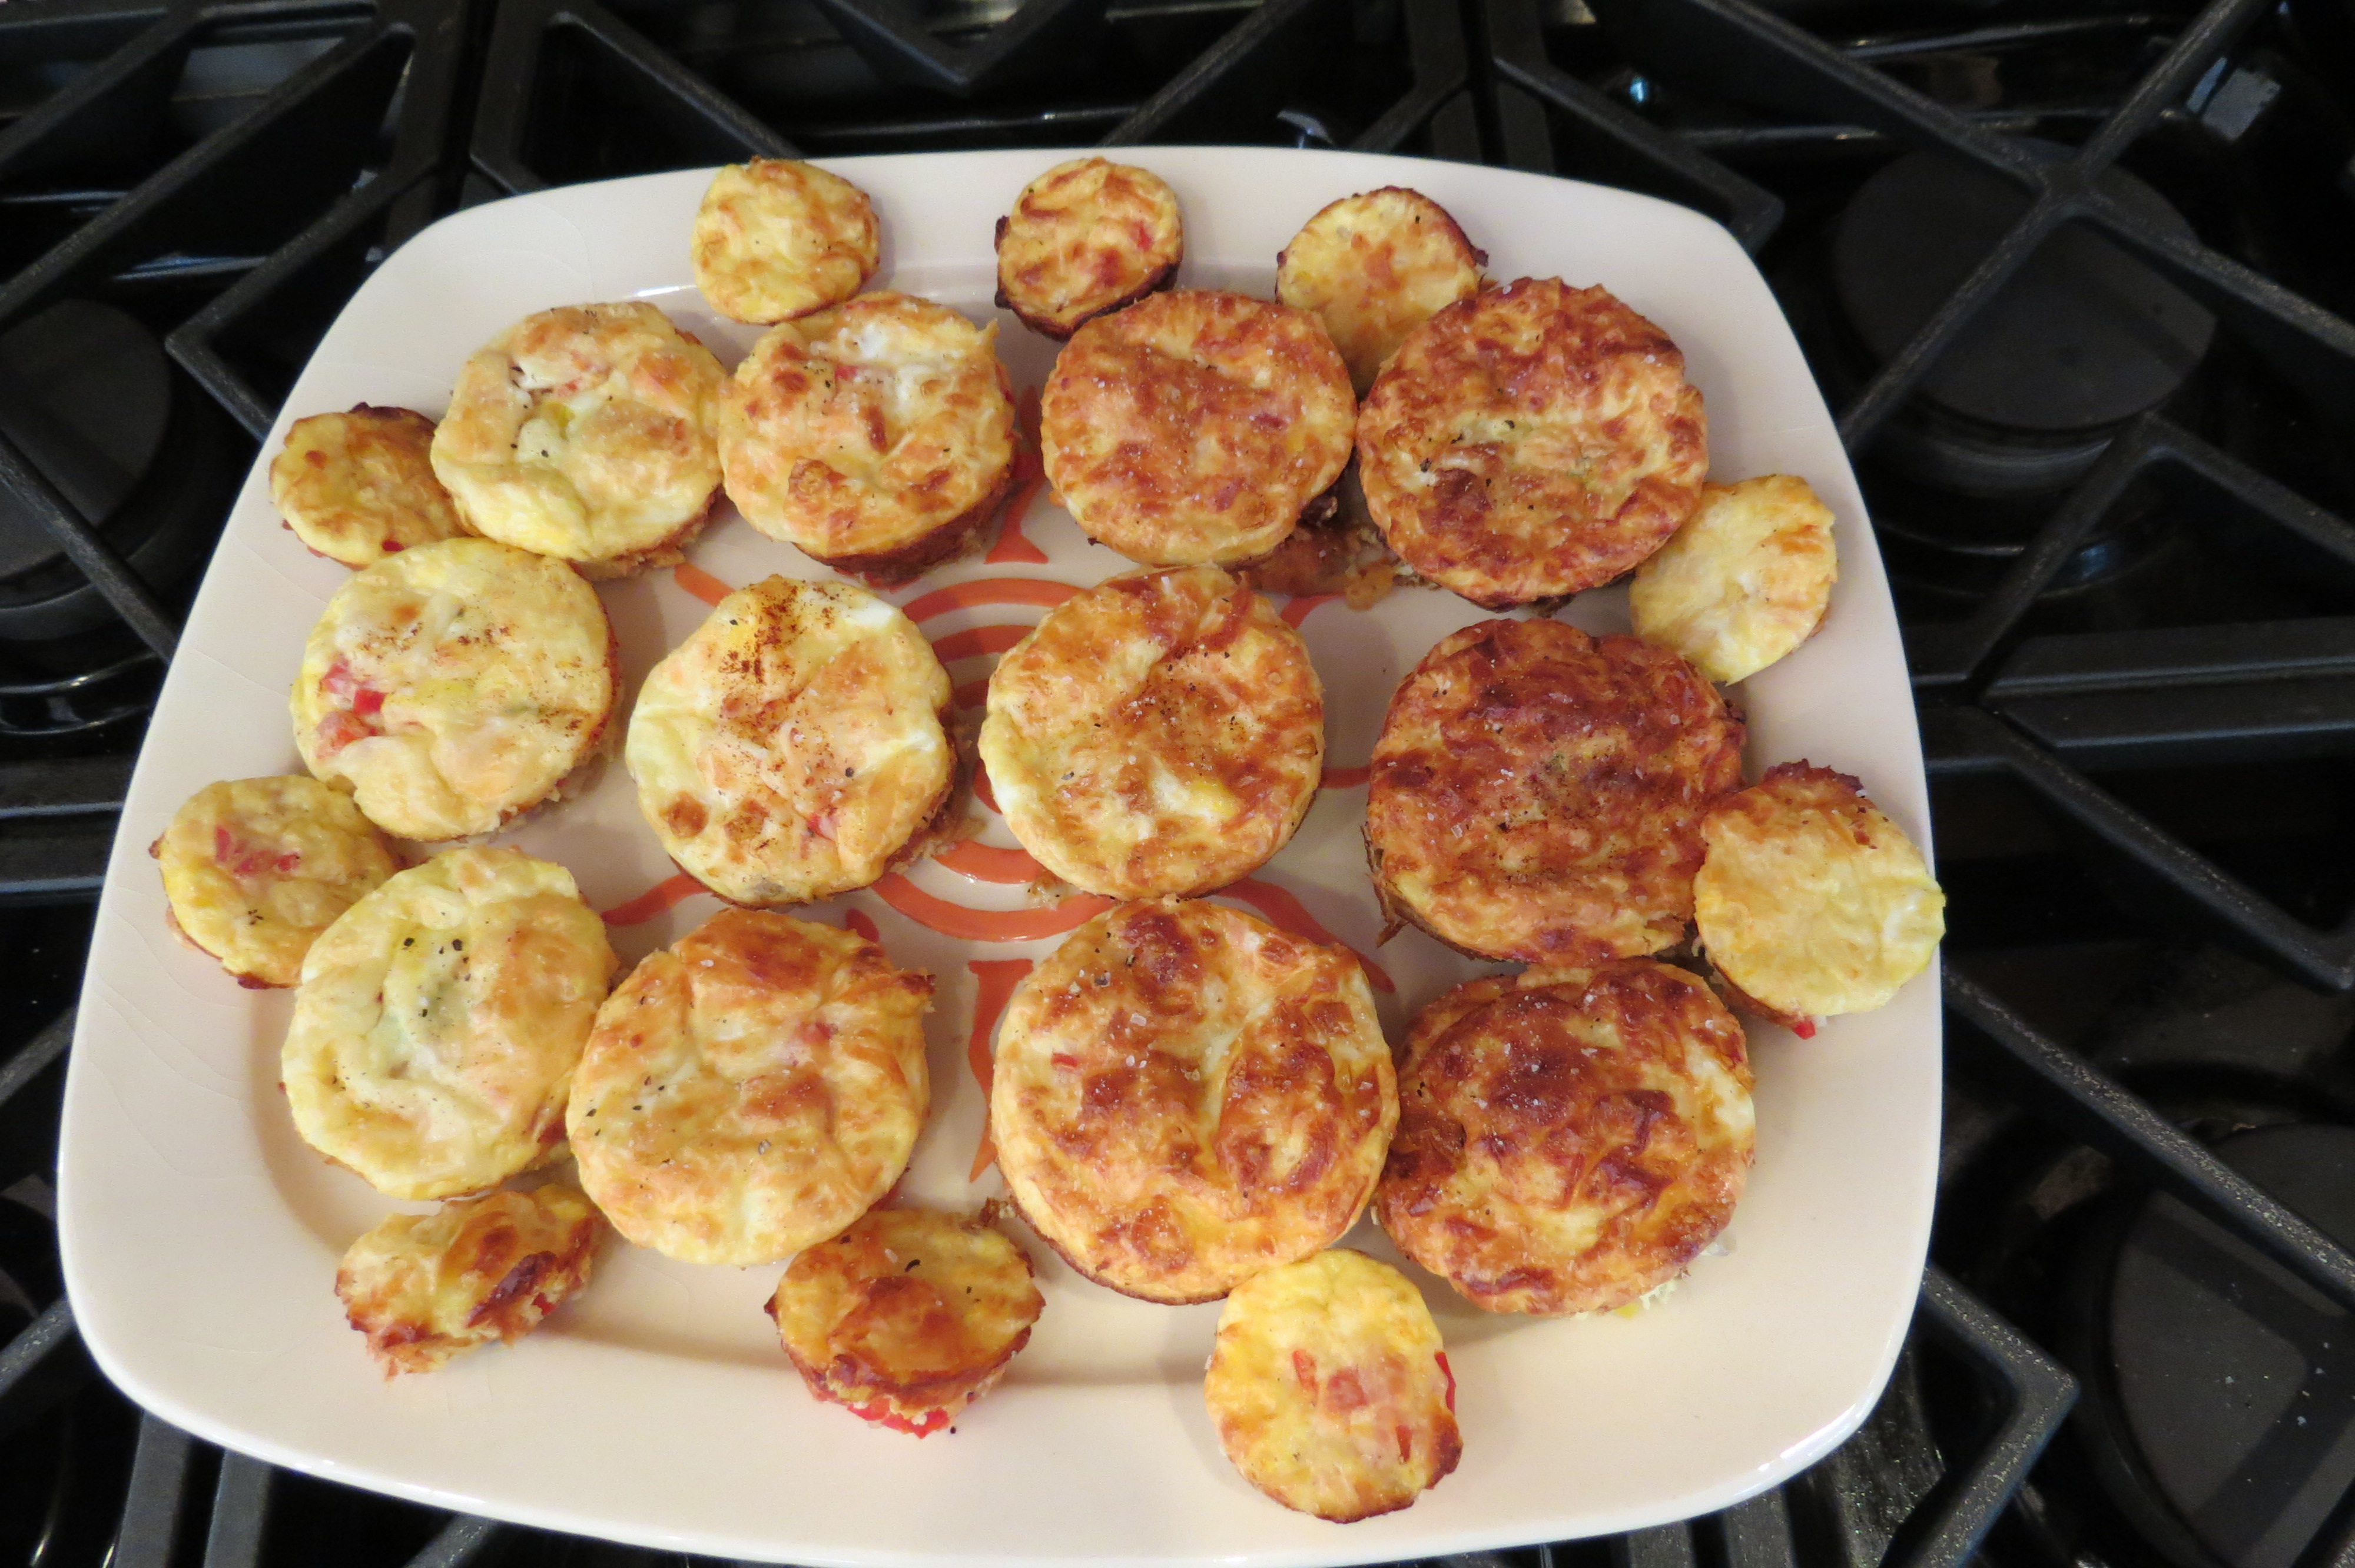
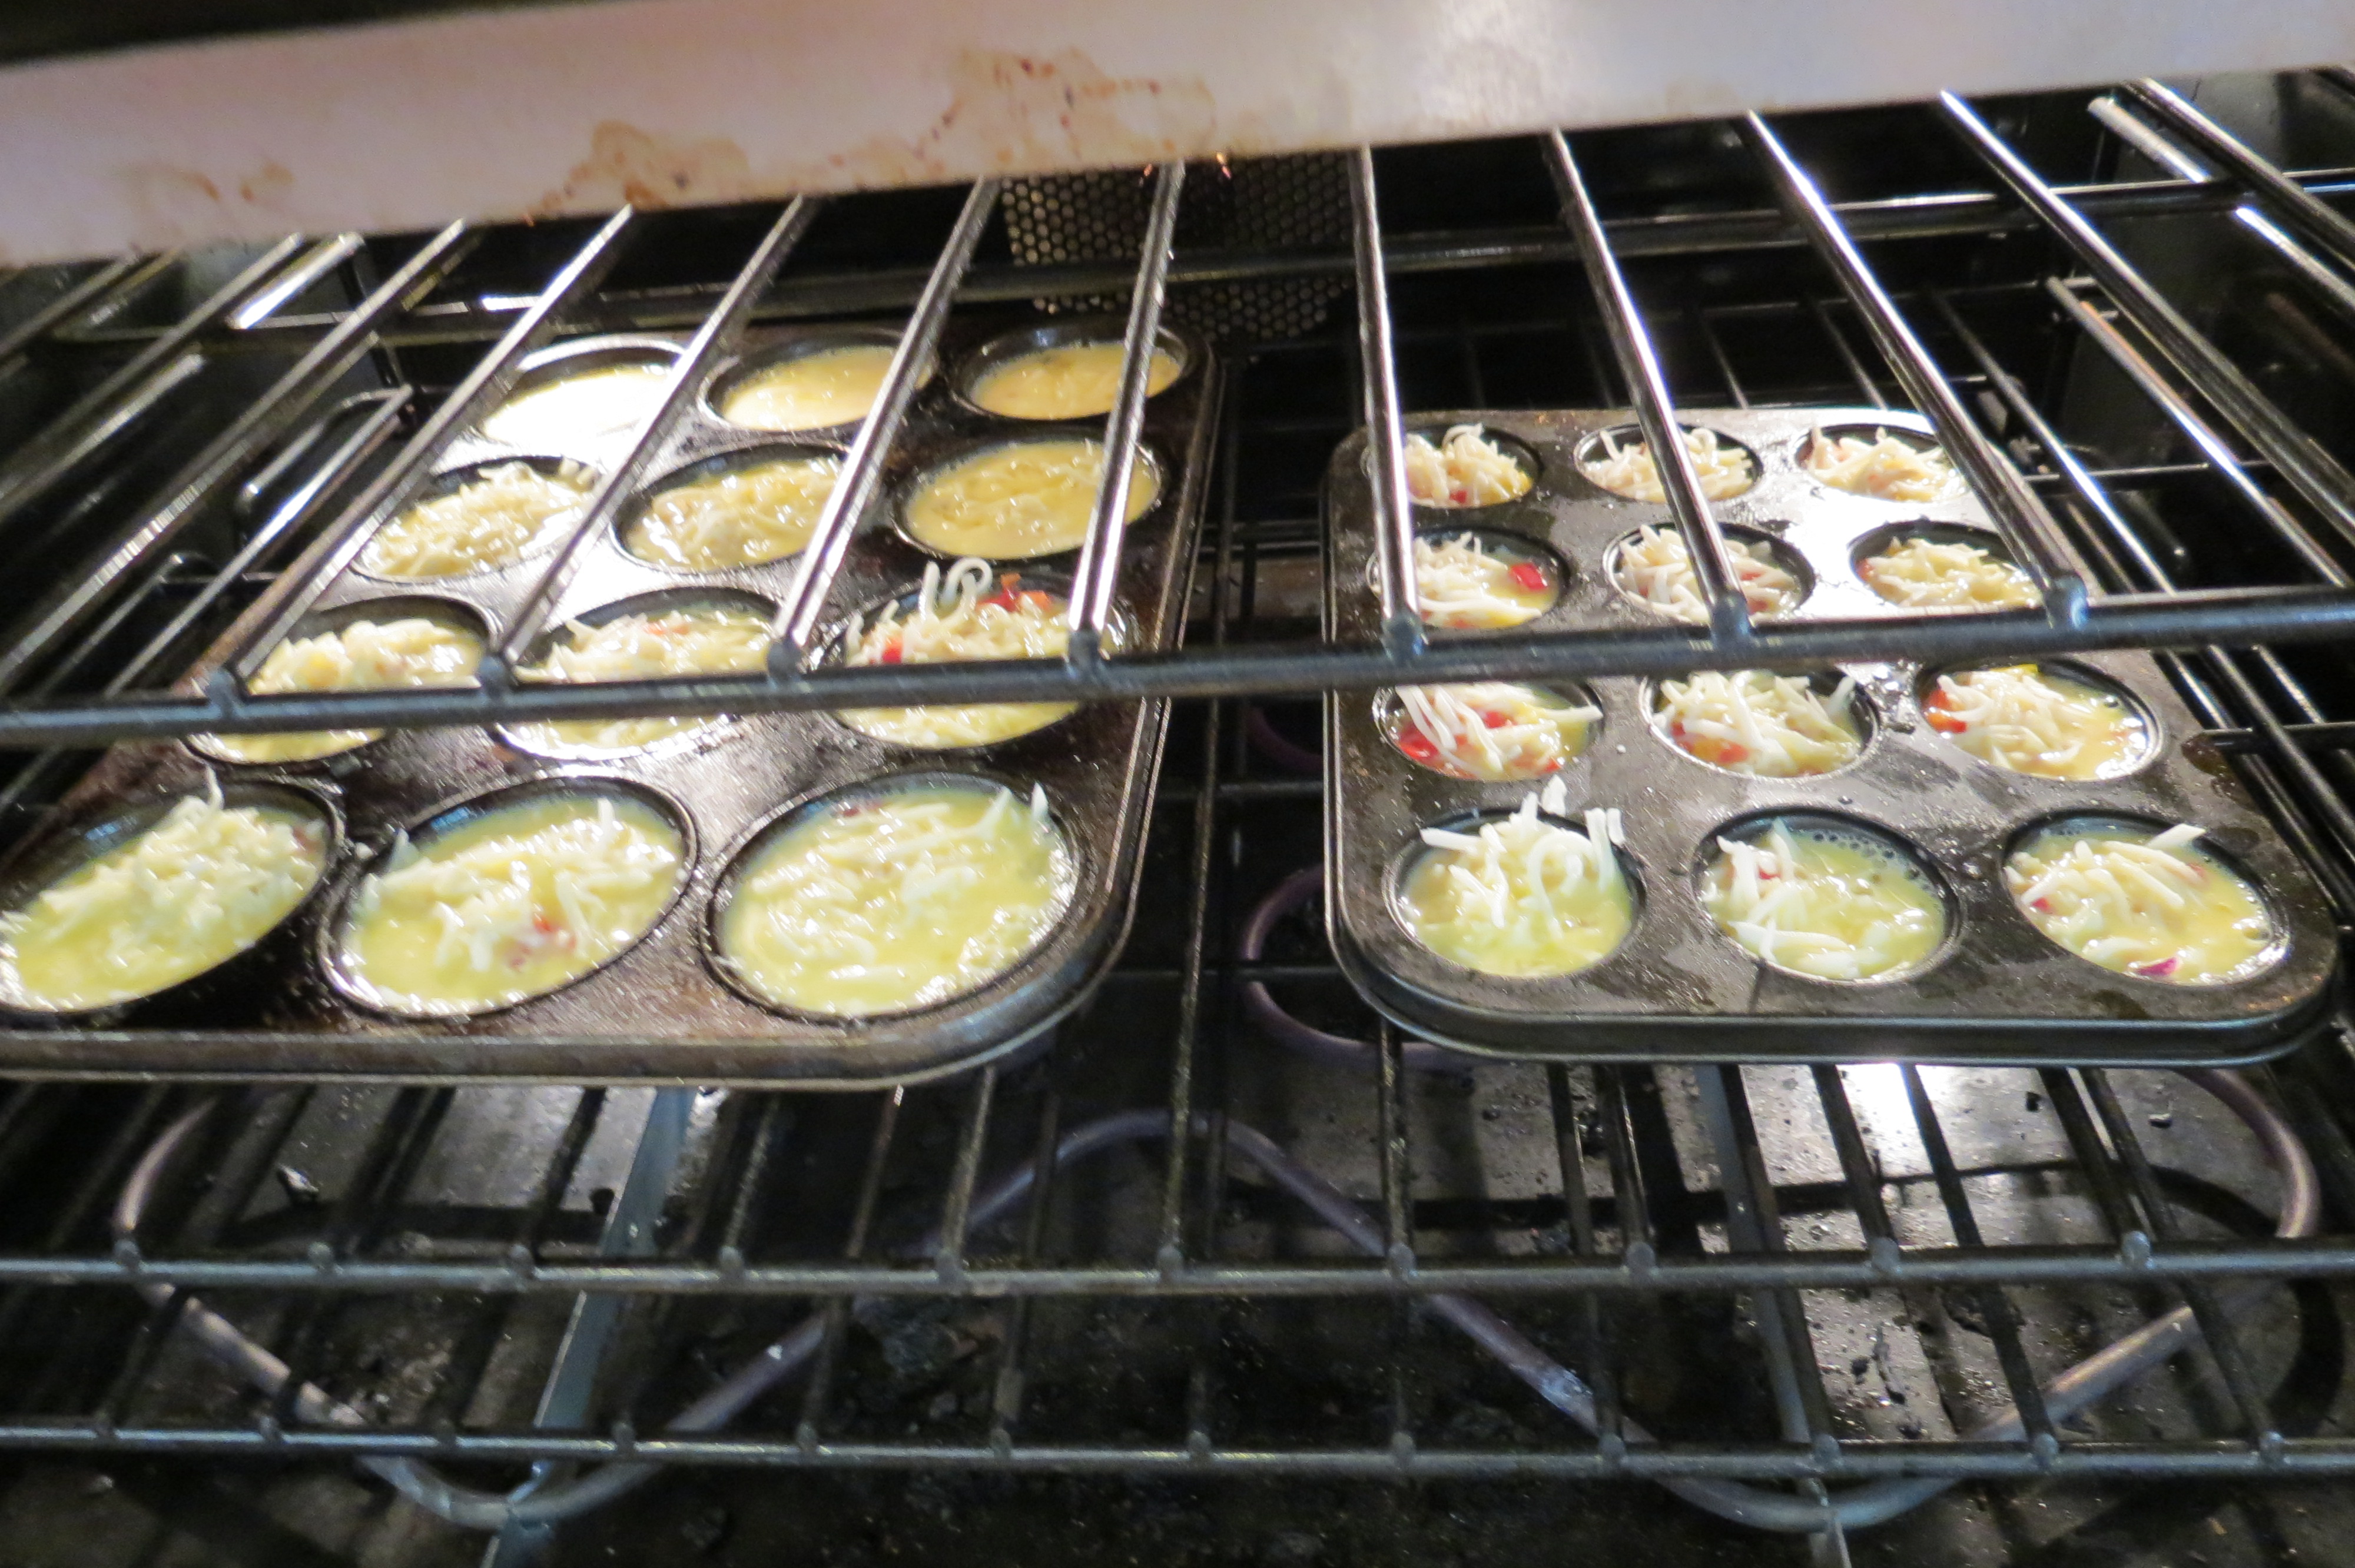
The reality is unless I’m on vacation or it’s Mother’s Day, I’m the one makin’ breakfast.  Never fear, the Best Omelete Poppers are here!  These mini omelets are easy to make, good for you, and super tasty.

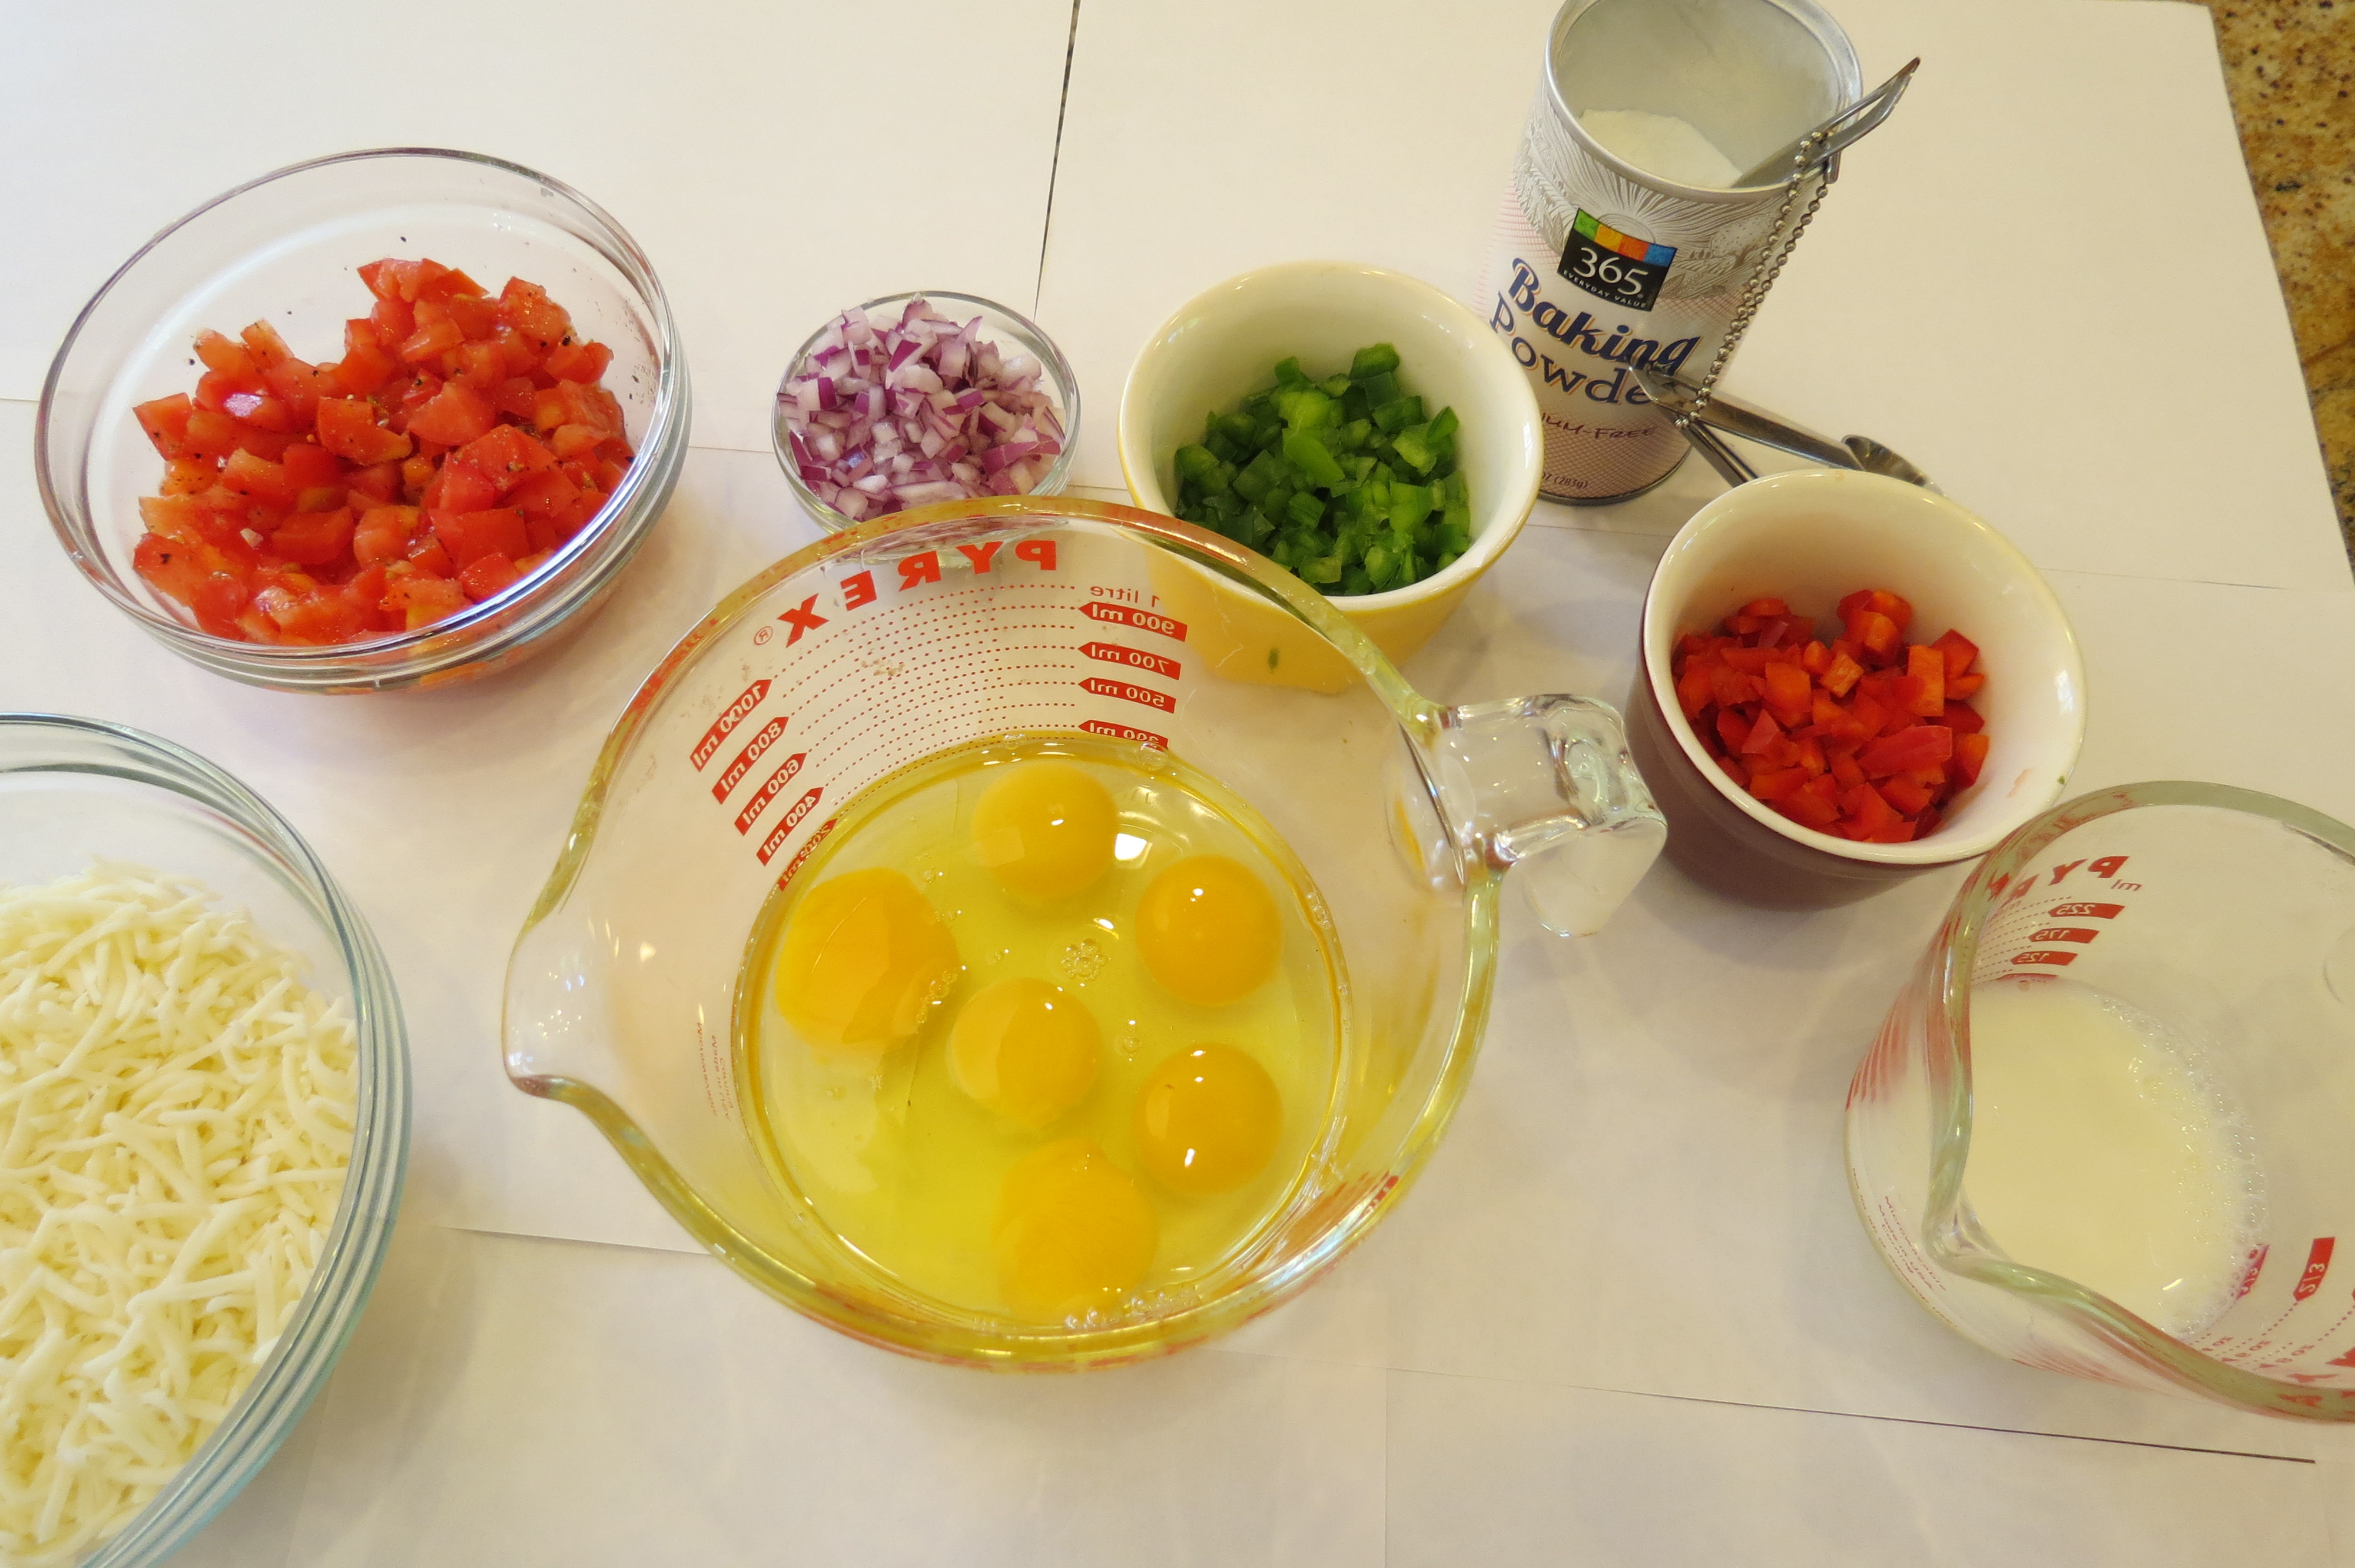
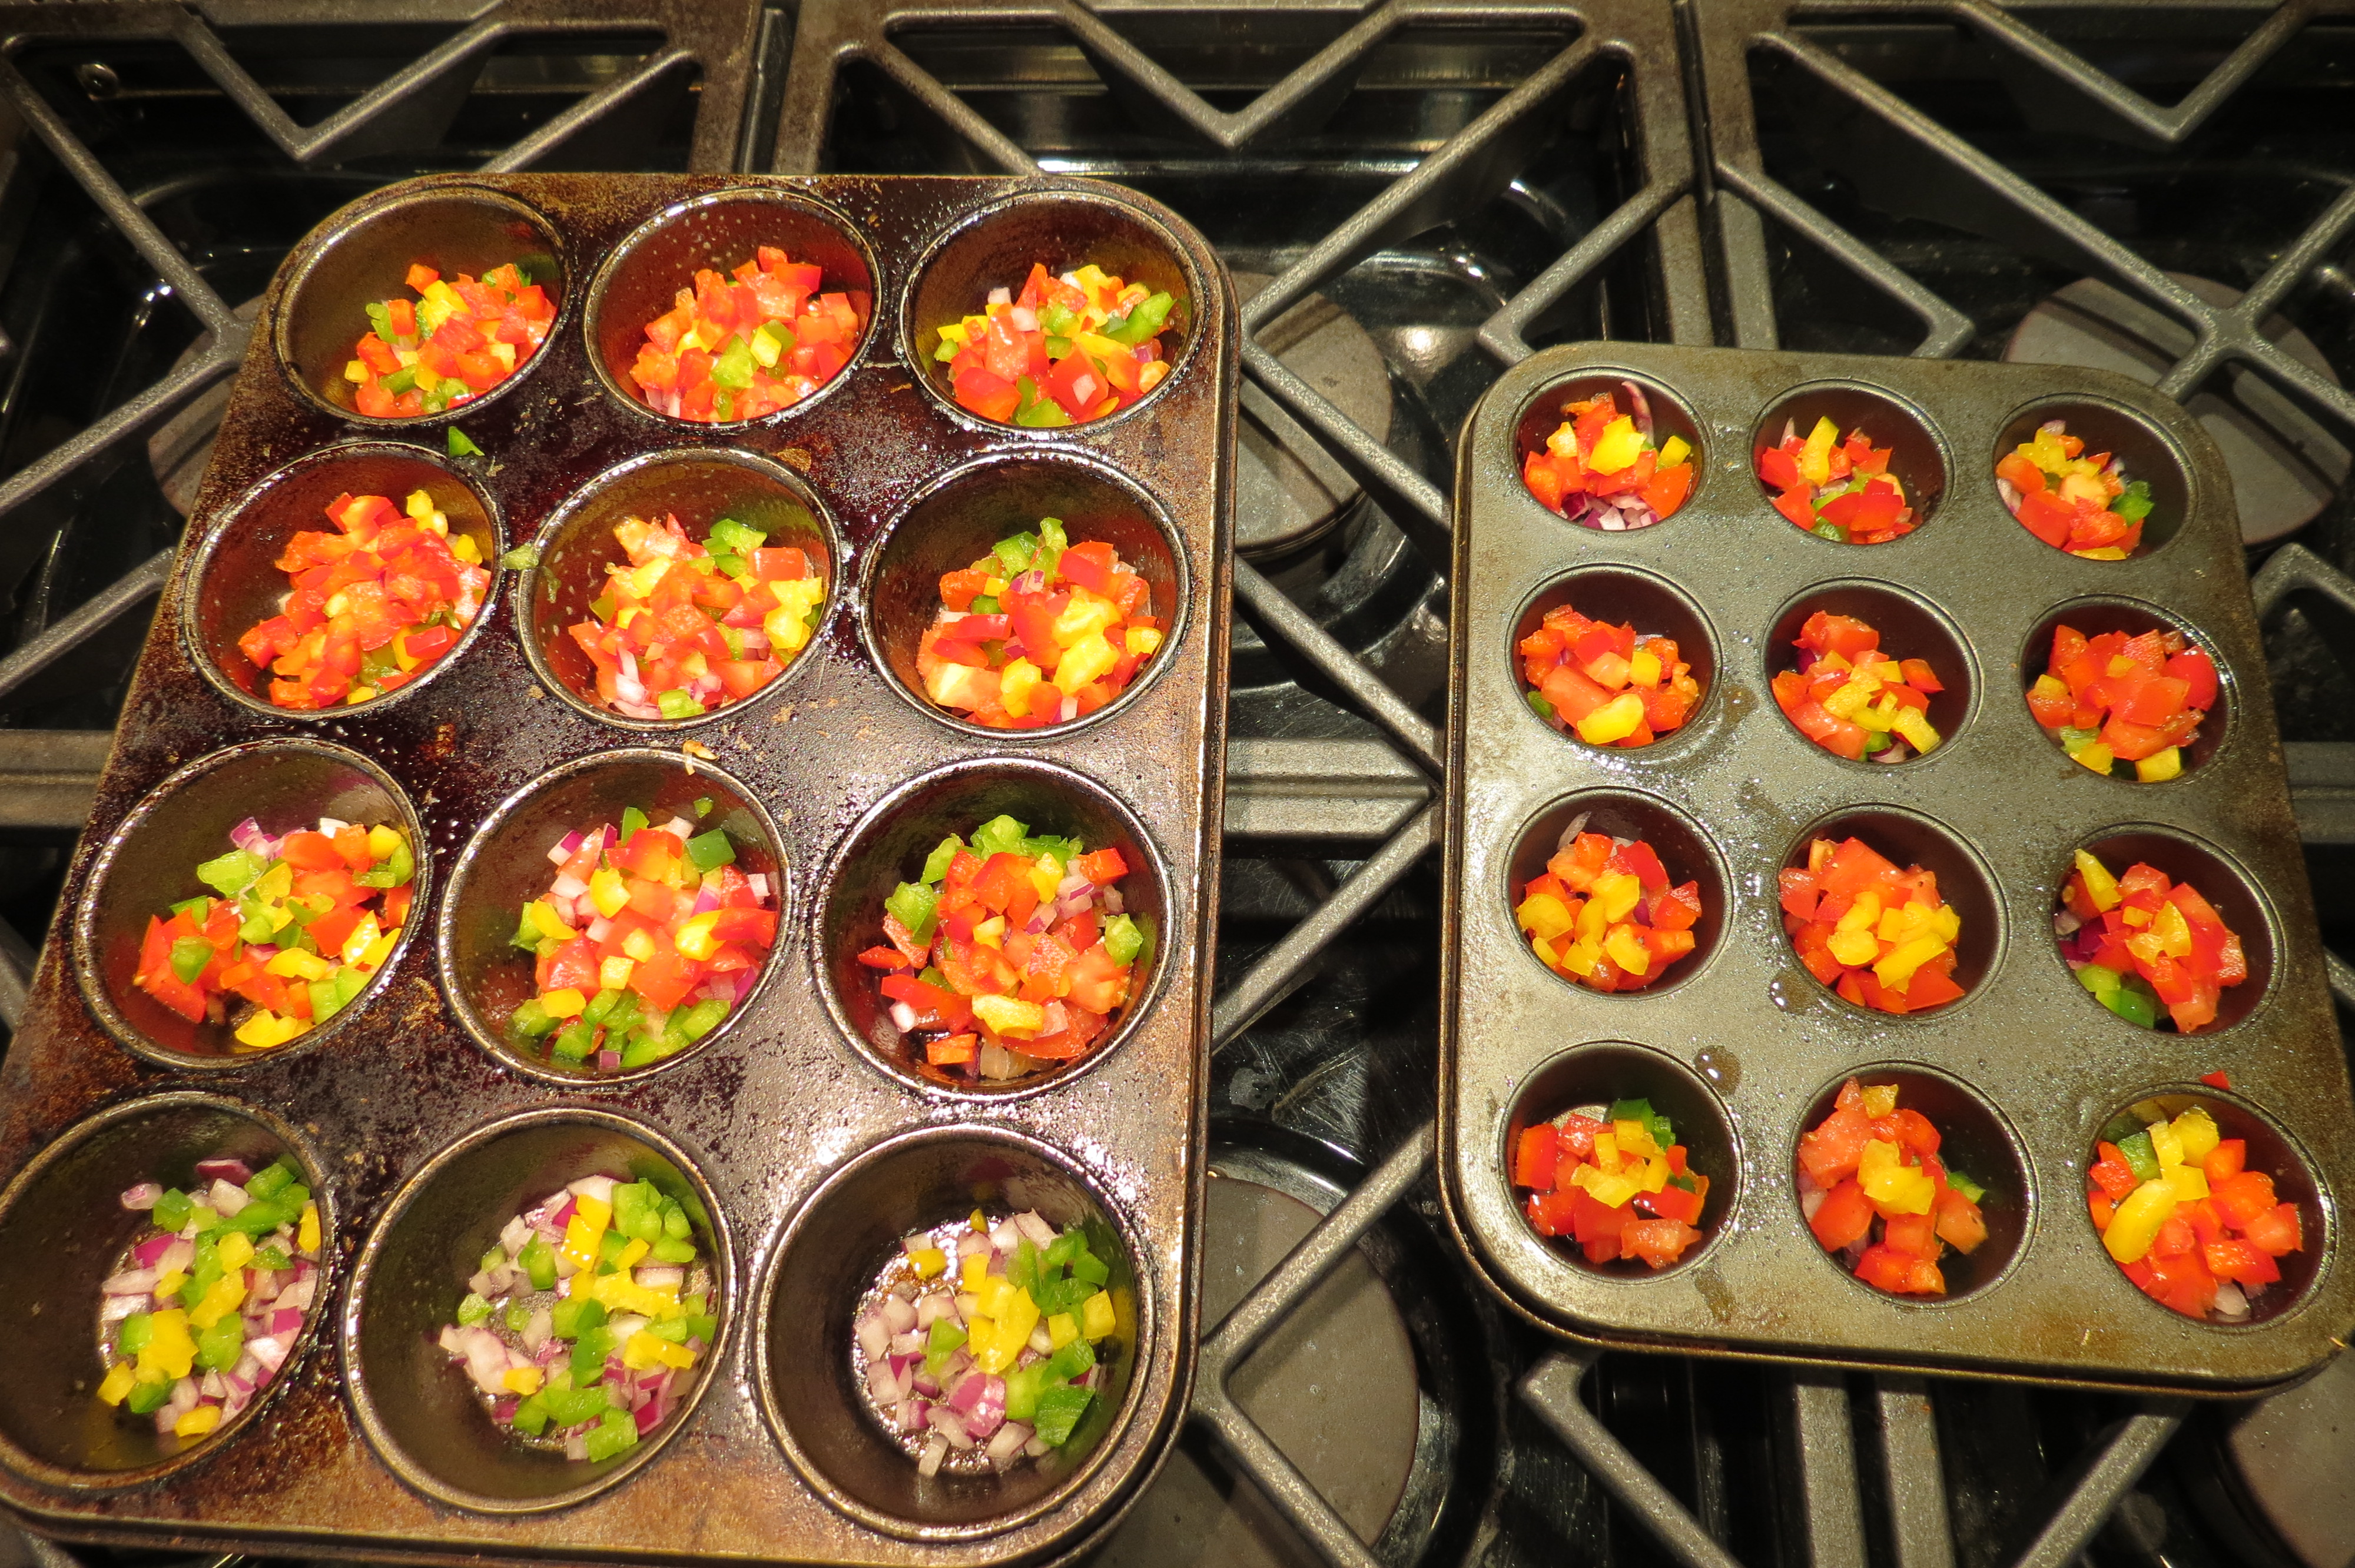
Recently, my super awesome trainer, Angie Mercado of Fit2Beat celebrated the end of a specialized fitness training series with a fabulous home cooked meal in her home . She was sweet enough to send all her students home with a big bag of colorful produce.  I went home and filled basket full of veggies in a rainbow of colors.  Bell peppers, huge tomatoes, avocados, red onions, and zucchini adorned our kitchen island.

So let’s get to it! How to Make the Best Omelet Poppers!

[amd-zlrecipe-recipe:3]

The omelet poppers are best when they are still warm. If you are making them ahead you can heat them up in the microwave and they are just as good.

Let me know if you try making the best omelet poppers around in the comments!

For more tasty, healthy recipes be sure to check out my blog, OvenHug.  Oven Hug features family recipes that are low-fat, low-sugar, and easy to prepare.

Find heart healthy recipes like:


Oven Baked S’Mores Dip!

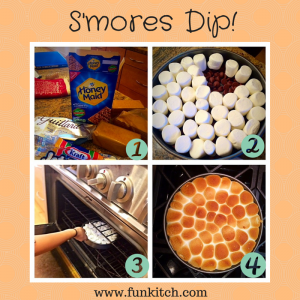
S'mores Dip!It was the night before the first day of school – one of our daughters was having a friend sleep over and wanted to bake something with her.  S’mores came to mind.  How did all of summer go by without making a single s’more??  One of our options was to uncover and dust off the old outdoor fire unit I picked up from a garage sale a few years back.  There was no telling if it still would work.  We decided to get crafty and think of ways we could make s’mores inside with the oven.  I’ve heard of scarey stories of kids trying to make s’mores on the stove top – putting out a kitchen fire was not on the top of my list of things to do the night before school starts back up.

We picked up a bag of regular sized marshmallows, our favorite Guittard milk chocolate chips, and a box of grahams…my daughter picked cinnamon grahams.

Once we unpacked our 5 bags of groceries (yes I went a little over board prepping for school lunches and snacks this first week back!) and we got out a little round cake pan.  Ours is non-stick but I’d recommend putting a piece of parchment or wax paper down first – this stuff is uber sticky.

Next the chippers.  Go ahead, empty the bag.  The fun part for the kiddos was arranging the marshmallows on top.  They were thrilled to find out there were exactly enough to fill the round pan!

making smores dip

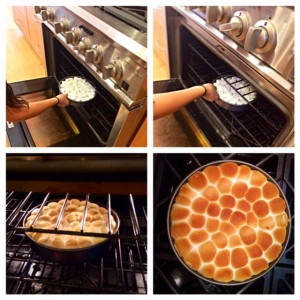
We heated the oven to 350 degrees.  We set the timer to 8 minutes although I made sure the girls were keeping a close eye on those mallows with the oven light on.  We checked every couple minutes to make sure they didn’t burn.

At around 6 to 8 minutes we turned the oven from Bake to Broil to get the tops of the marshmellows nice and toasty brown but only for a couple minutes.

We let them cool for a couple minutes and voila!  Time for sticky, messy, dipping fun.

Another idea is to make more individual sizes by using a non-stick mini muffin tin.  We are going to try that next time.  Maybe it will keep us from eating the whole pan at once.

It starts looking like a goopy mess after the first several dips but it doesn’t stop tasting amazing.  These things are even good the next day.  They may not be pretty but they taste like the finest taffy I’ve had.

Let me know what you think and comment if you try making them – enjoy!